by Jeff Hopper
Often you’ll find a mid-cut plumeria at a cutting sale or given to you by a friend. A mid-cut is exactly what it sounds like: a cutting from the middle, without a tip. You might think, yeah some great friend gave me this mid-cut, now what? Well, take that cutting and heal the bottom cutting over, and seal the top cuts with DAP. Yep you got it right – DAP, caulk sealant. You can buy the stuff at Home Depot for $2.99 for a tube of white silicone sealant. One tube will keep your sealing mid-cuts for quite some time.
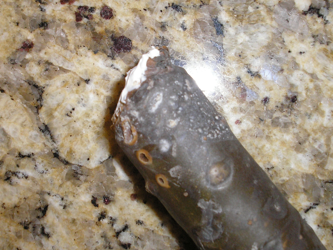
Why would you prefer a mid-cut over a regular tip? Often mid-cuts are much thicker in girth and will much more readily root than a small tip cut. Also the mid-cut may branch out and produce a couple, maybe a dozen new branches that can each then be taken as tip cuts. I like to shop for the mid-cuts as they are generally really cheap, and you can get some really good stock. I picked up a bunch of mid-cuts at the SCPS cutting sale for a buck each – can’t beat that.Here’s the first mid-cut, purchased at an SCPS meeting for a whole $2. Me thinks its probably a Celadine but who cares – they make great flower leis, and that keeps the ladies in the house happy. Plus starting this beast should be fun. Also in selecting this cutting, it’s firm when squeezed, absolutely no give laterally. If I didn’t know any better I’d think rigo had set in, it truly could be used as a weapon. I strongly believe that means the cutting is ready to sprout leaves, roots and get to growing!
How to get it started
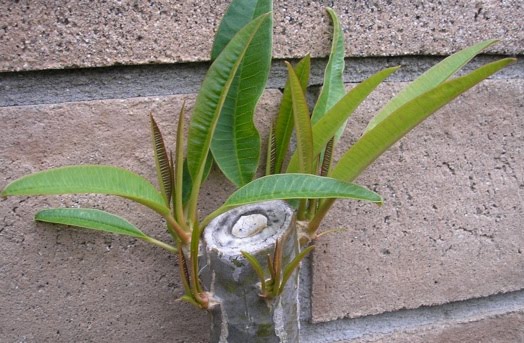
Seal the tip with DAP. The idea/theory here is that you don’t want the tip to lose anymore moisture. The more moisture it loses through the cut end, the more likely you are to lose the cutting. Also you don’t want any moisture entering the cut end, rot/moisture is a cutting’s worst enemy. Notice from the photo that the leaf nodes are starting to swell? Yep, you guessed it – that’s where the new branches are going to form.
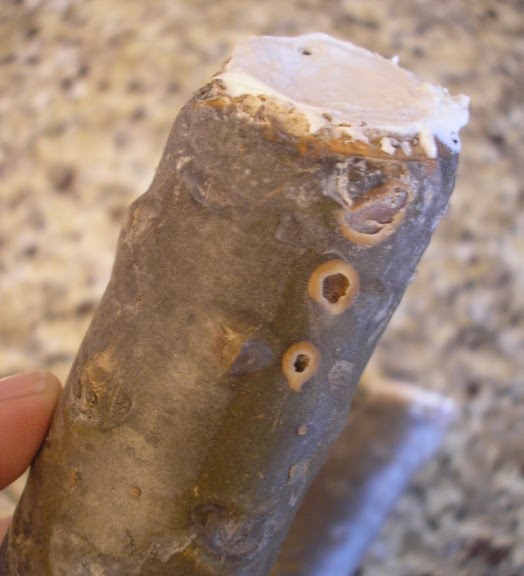
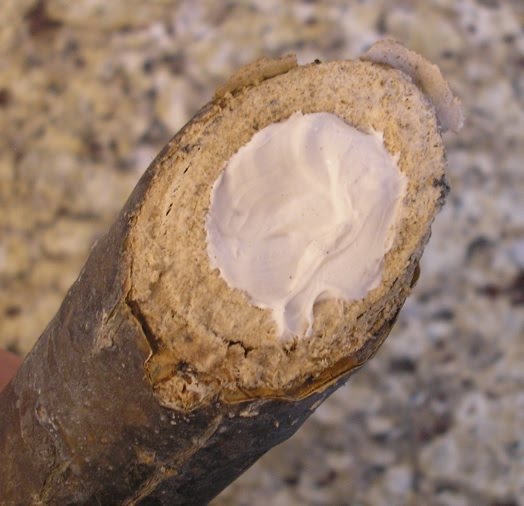
I’m getting tired of losing cuttings to rot in the middle – the pithy part. So with this cutting I’m trying DAP on the inside, pith ring, to seal it from any further moisture. Hopefully no more rot in the middle, and faster roots from the outside, cambium layer. Notice this cutting is well healed. I’ve allowed it to dry for 1+ month. Did I say I was tired of rotted cuttings?
This tree here was started from a great two-tip cutting. The tree fell over and became a “slingshot.” I sealed the tips and have five new branches. I grew this beast in the green house for two years thus the tremendous growth between leaf nodes.
And yes, it will flower again!!!
As you can see the DAP sealed the tips and stopped any further rot and die-back from the cut end. The new branches erupt from the leaf scars. Interestingly enough, the new branches only share the cambium layer with the rootstock. They do not share the pith (middle layer). Eventually I may take these new branches and root them as cuttings.
The Beast
The beast was won at the annual SCPS members only meeting from the raffle table. This is one of three branches on the cutting; this branch is 2” in diameter. The main trunk of this tree, 4”+ in diameter. It’s huge! It has a ton of life force and is ready to go. This spring it finally sprouted and that there branch has five new branches forming! Thank you Carl and Joy for putting that one on the table!